How to install crystal chandeliers | Sofary Lighting
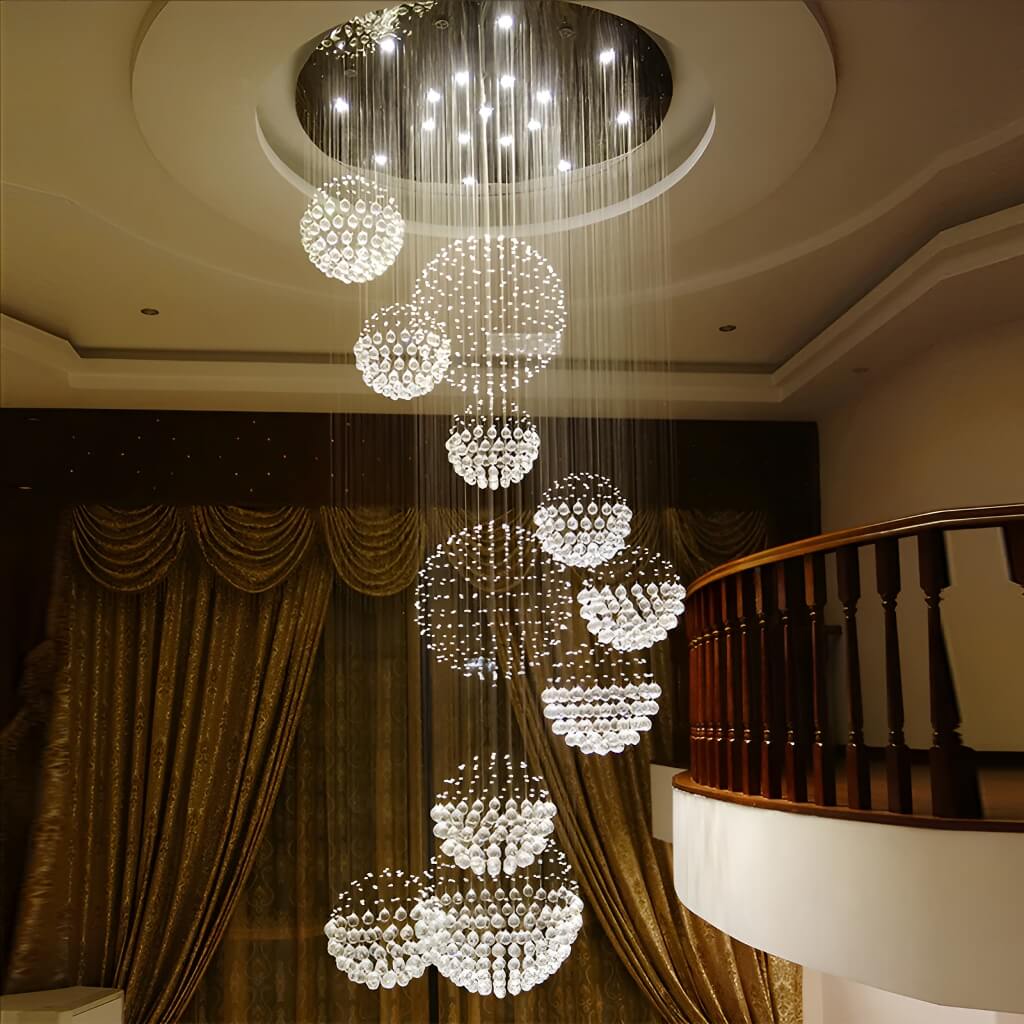
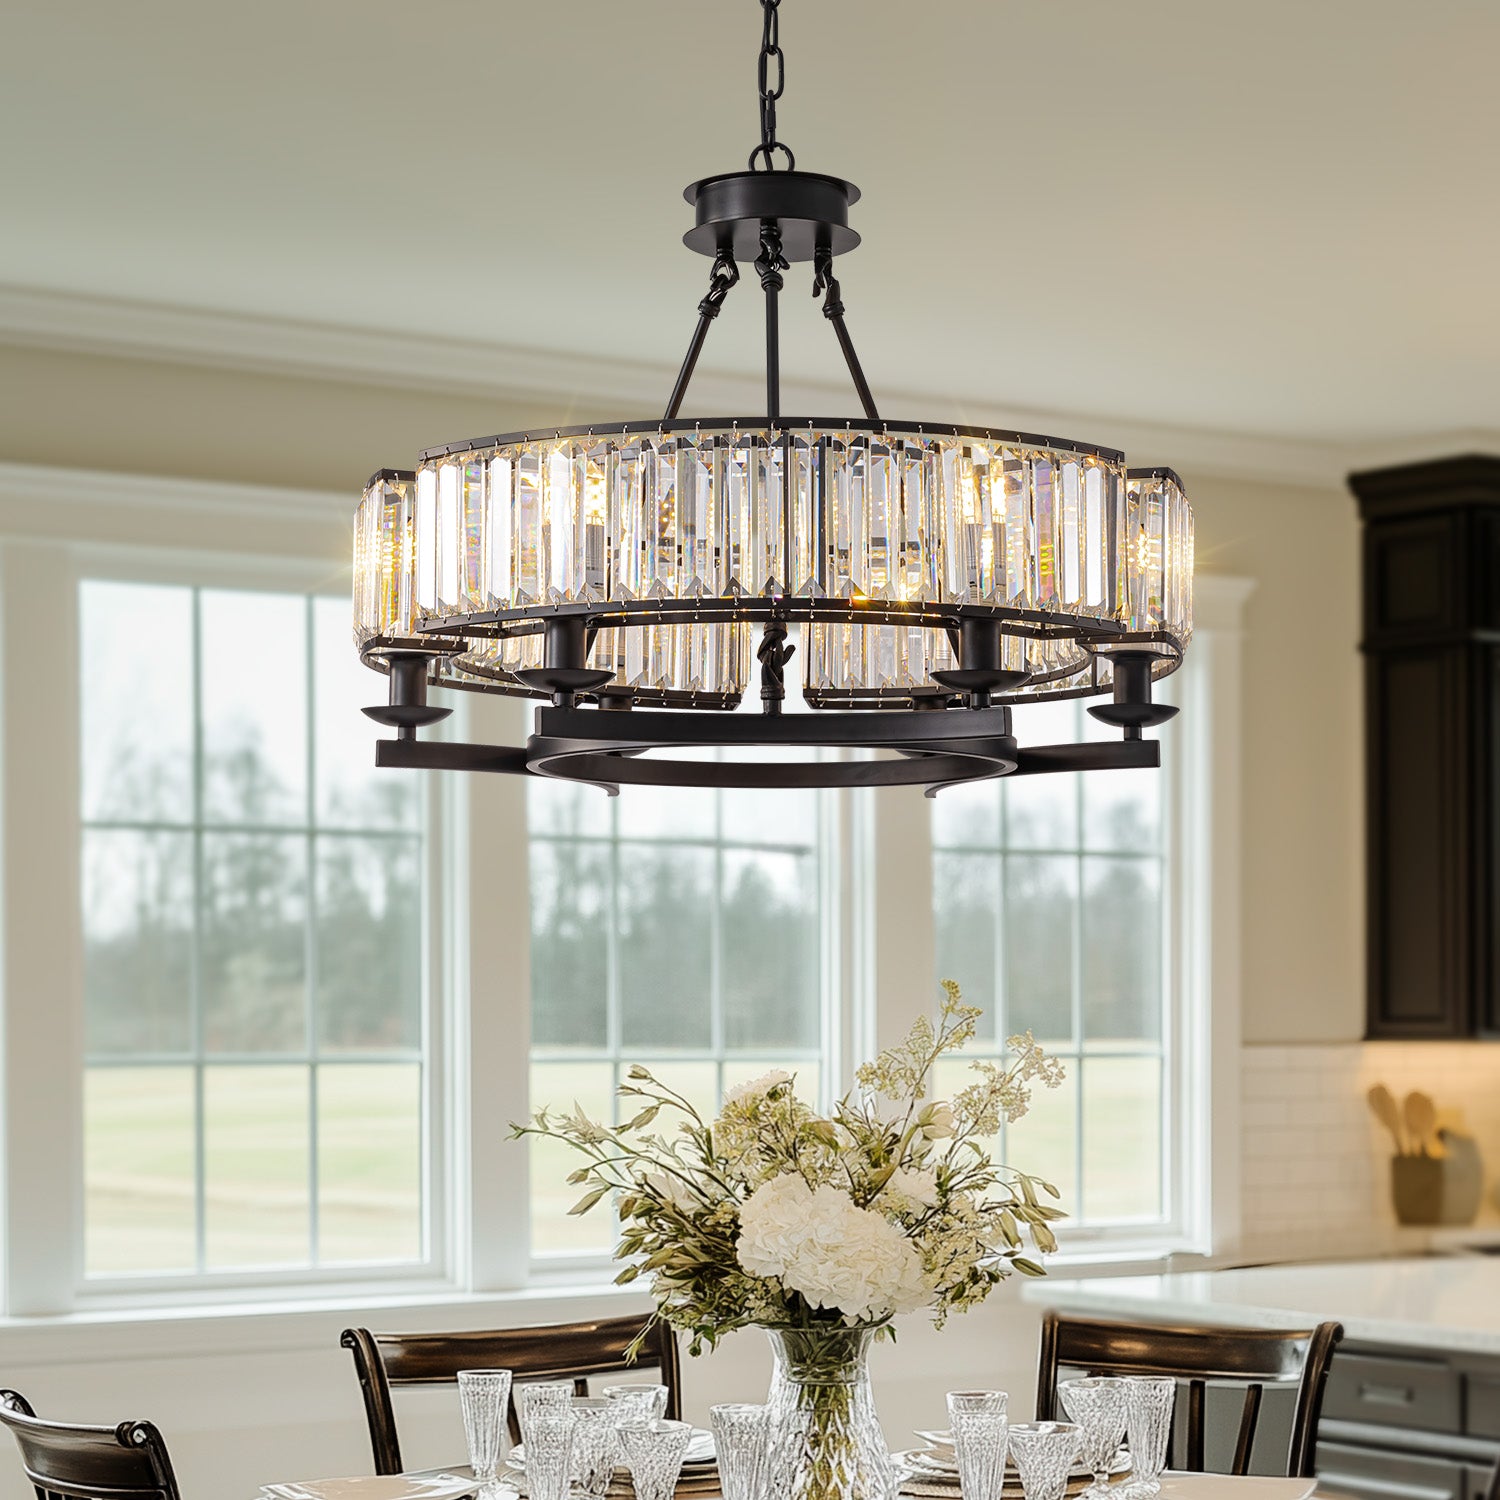
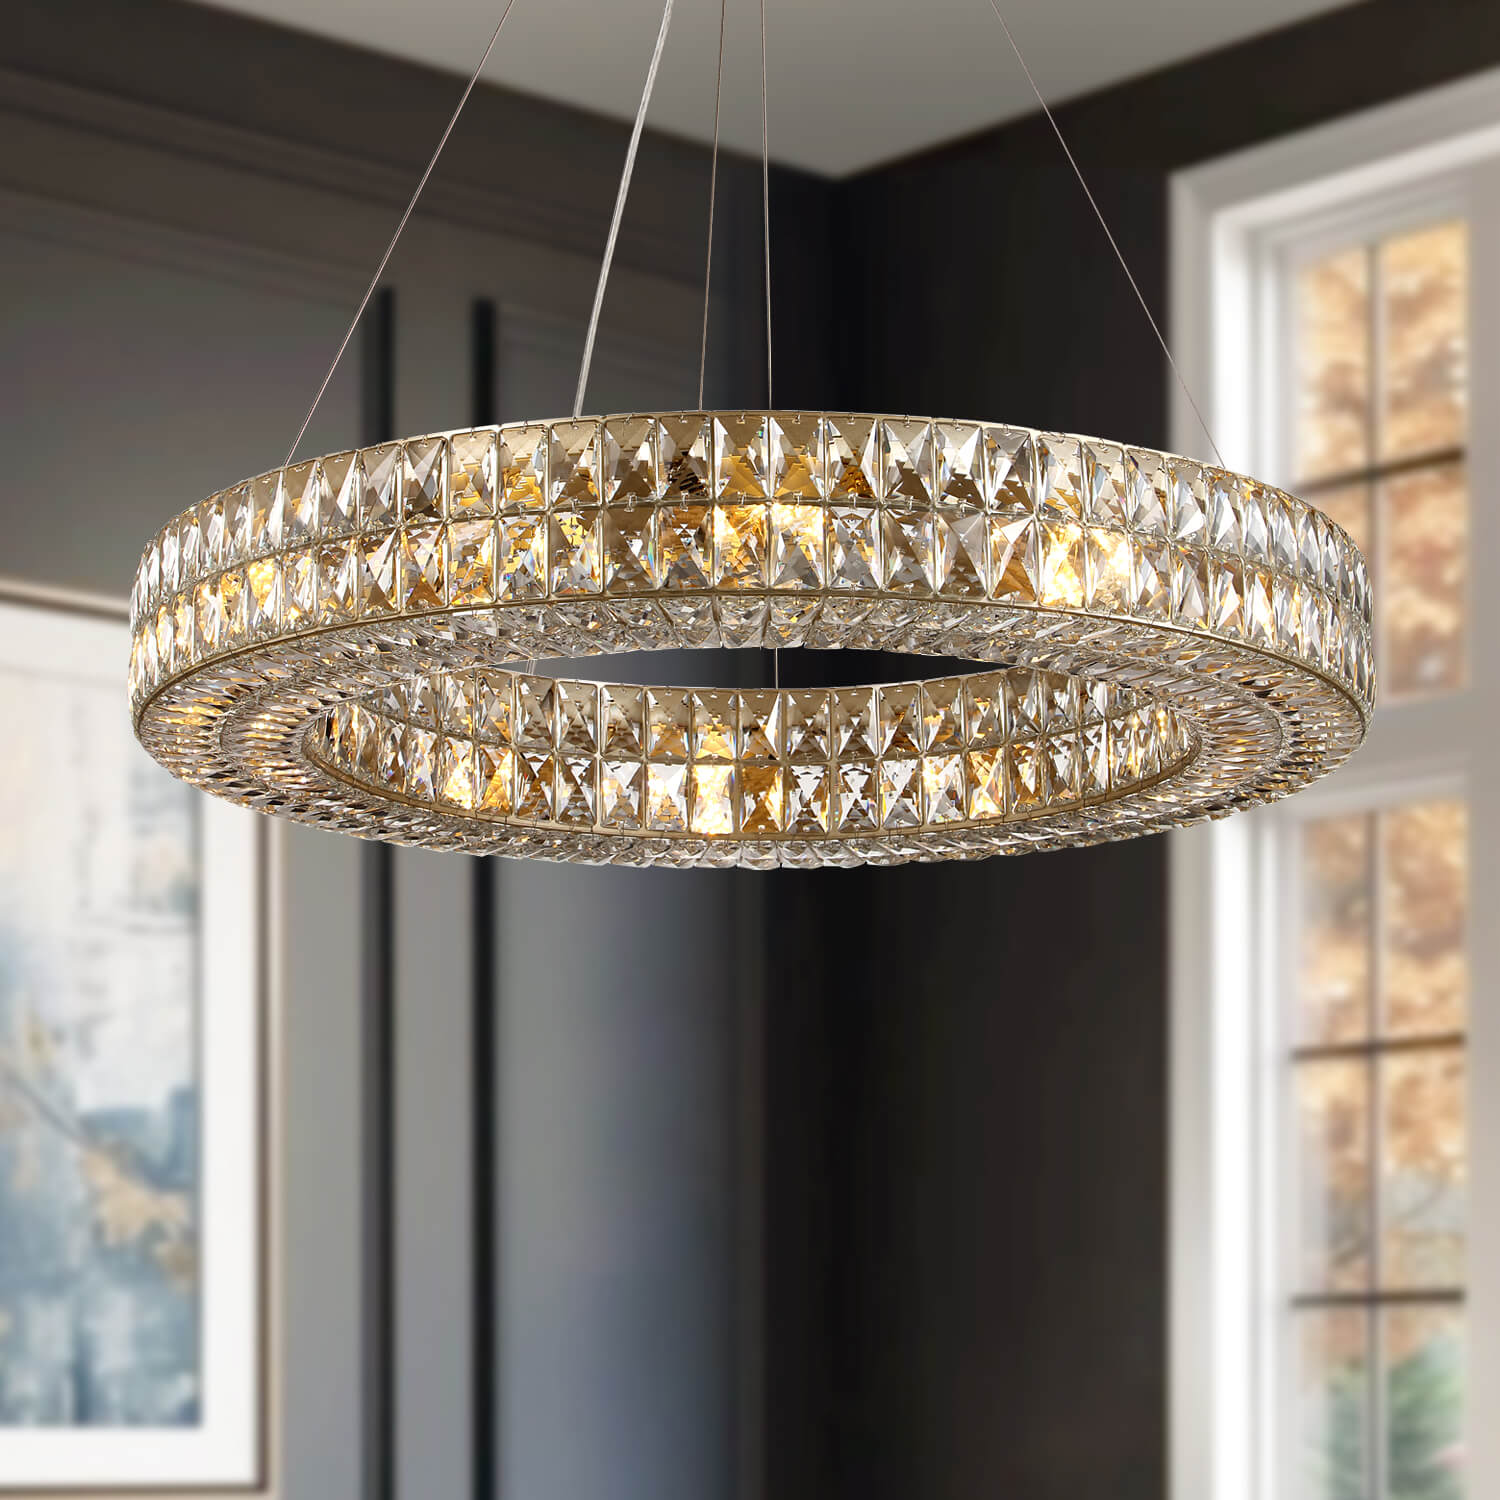
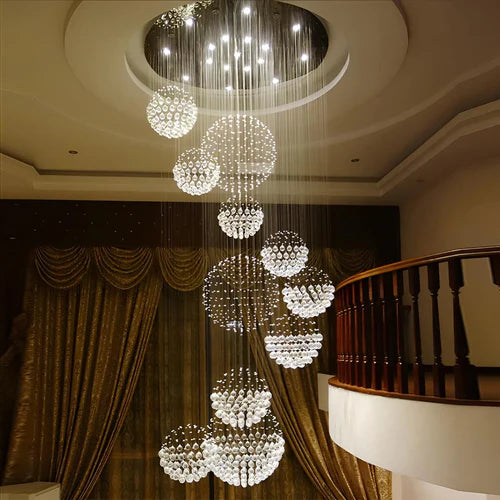
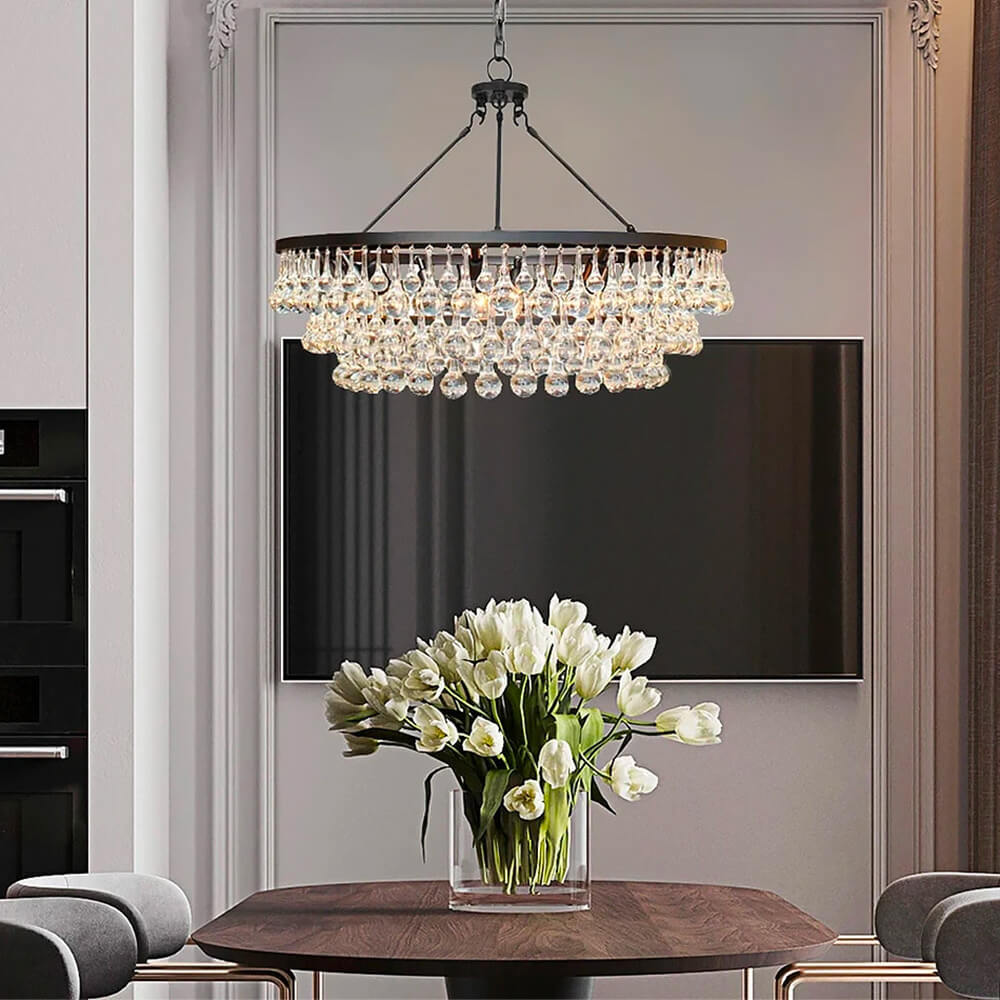
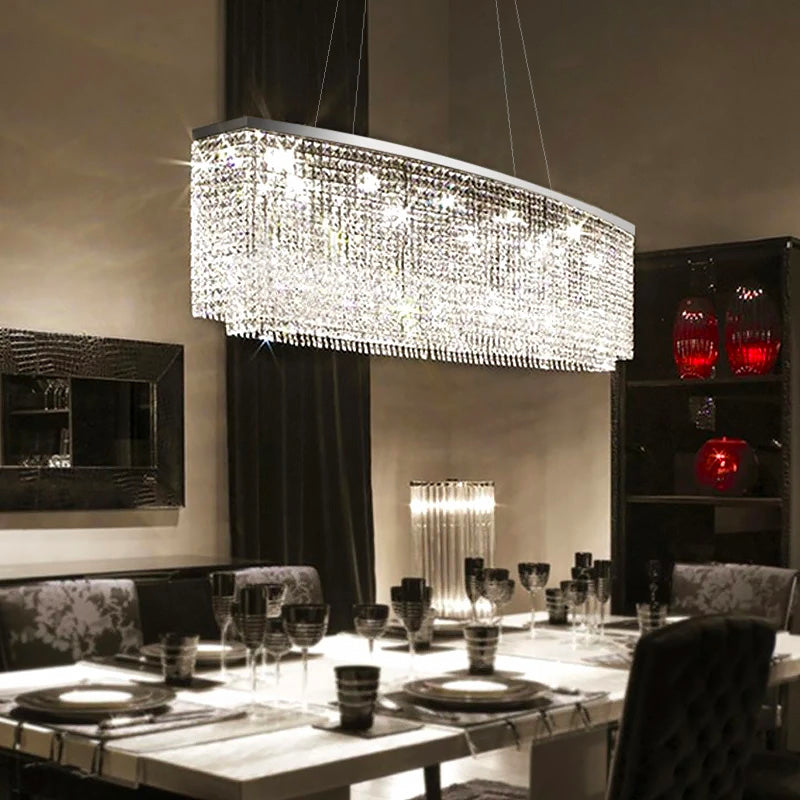
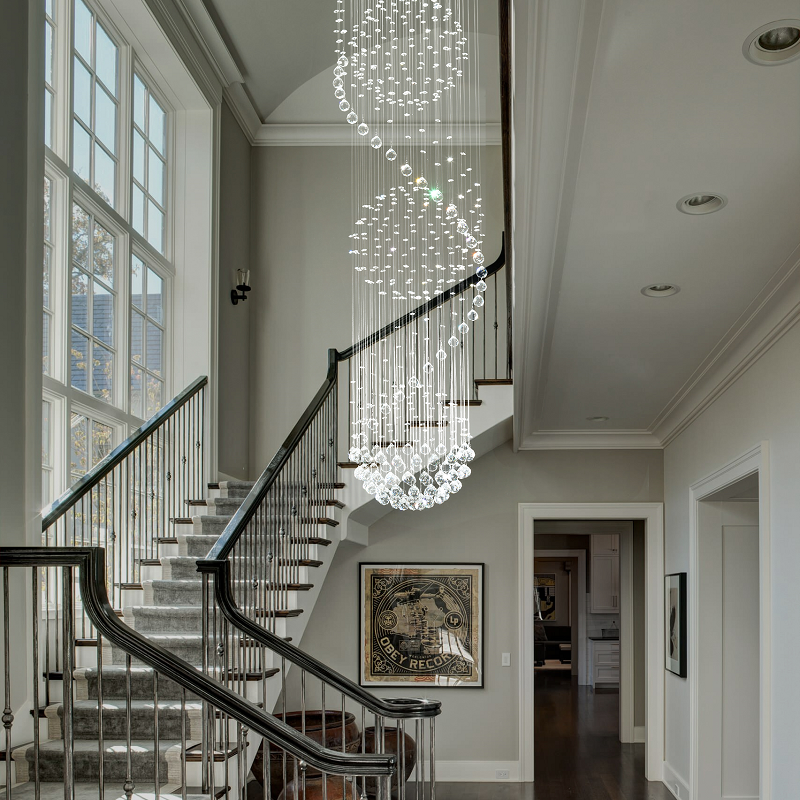
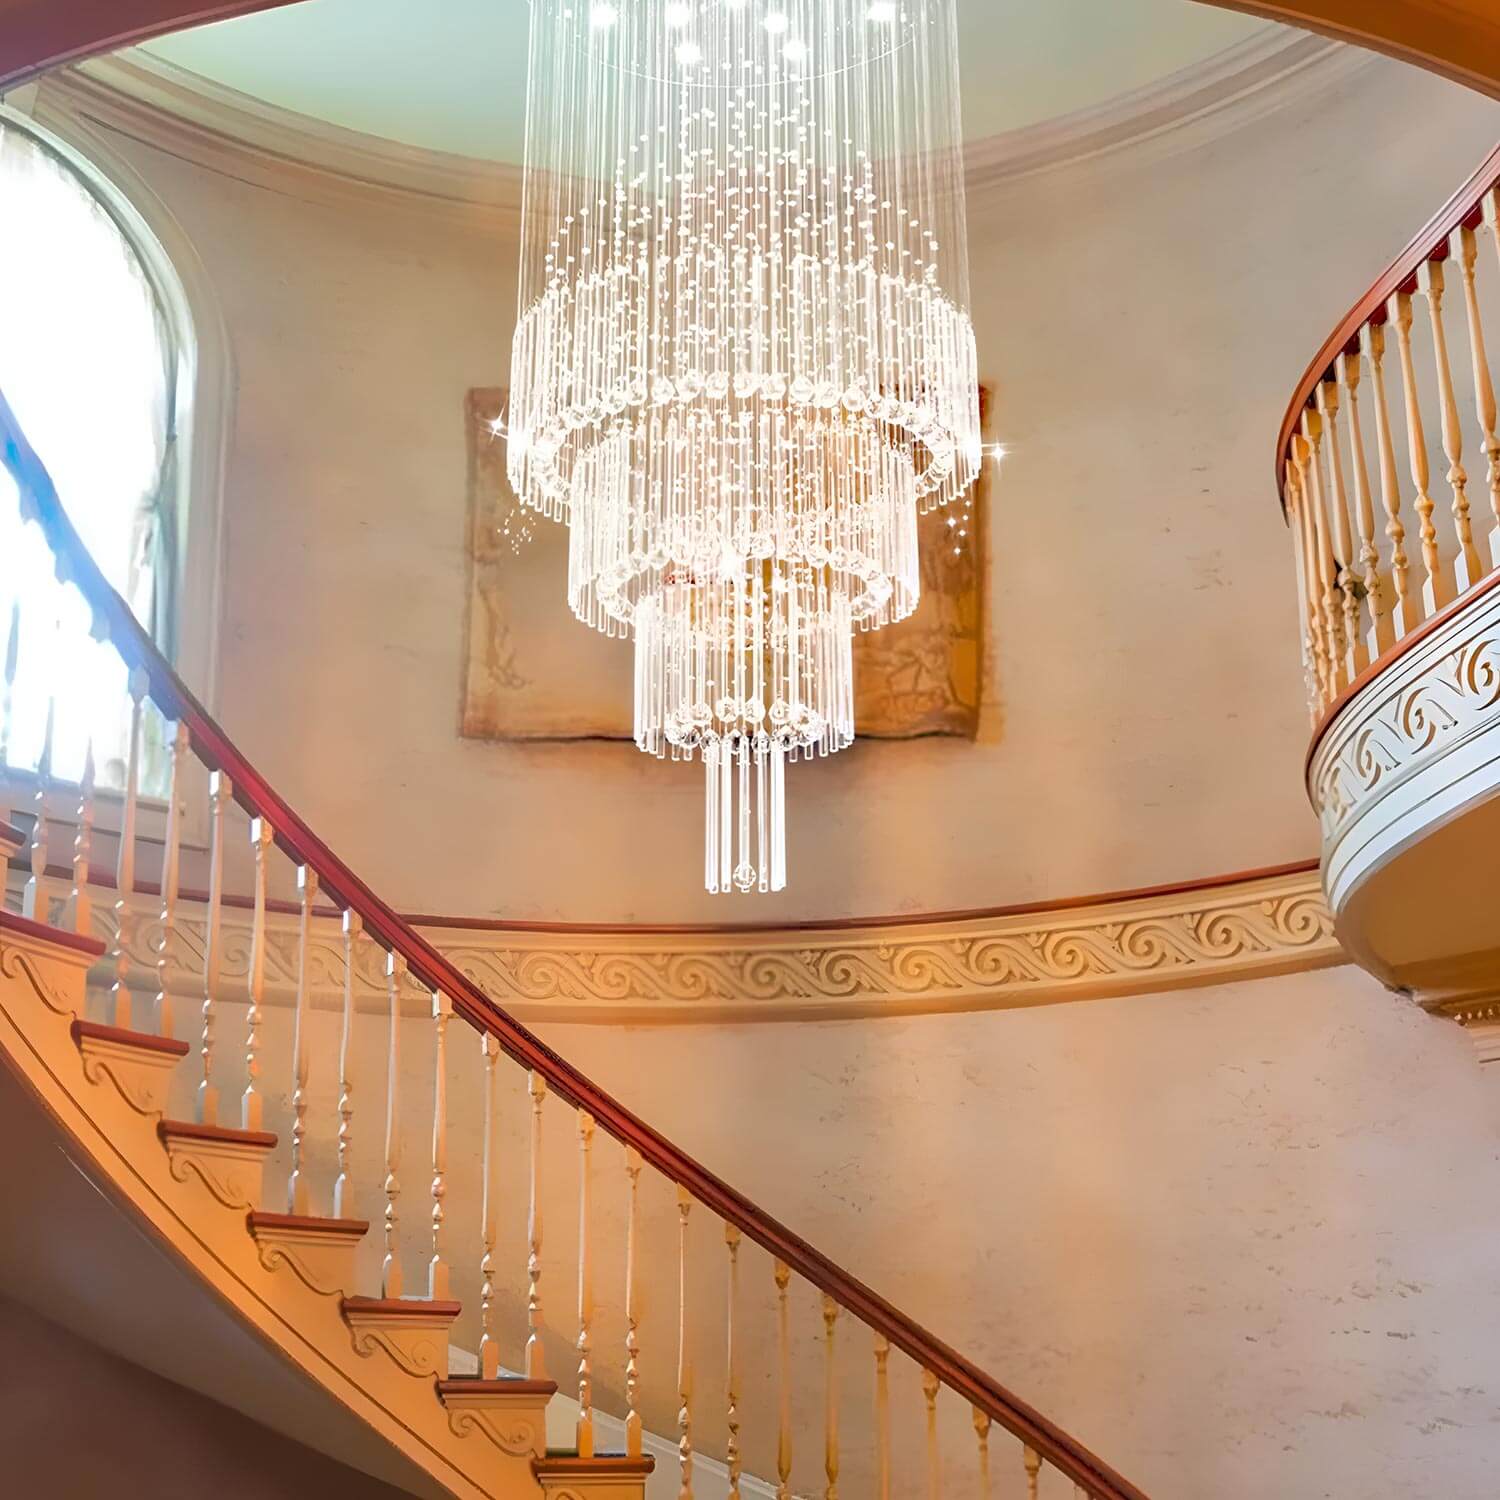
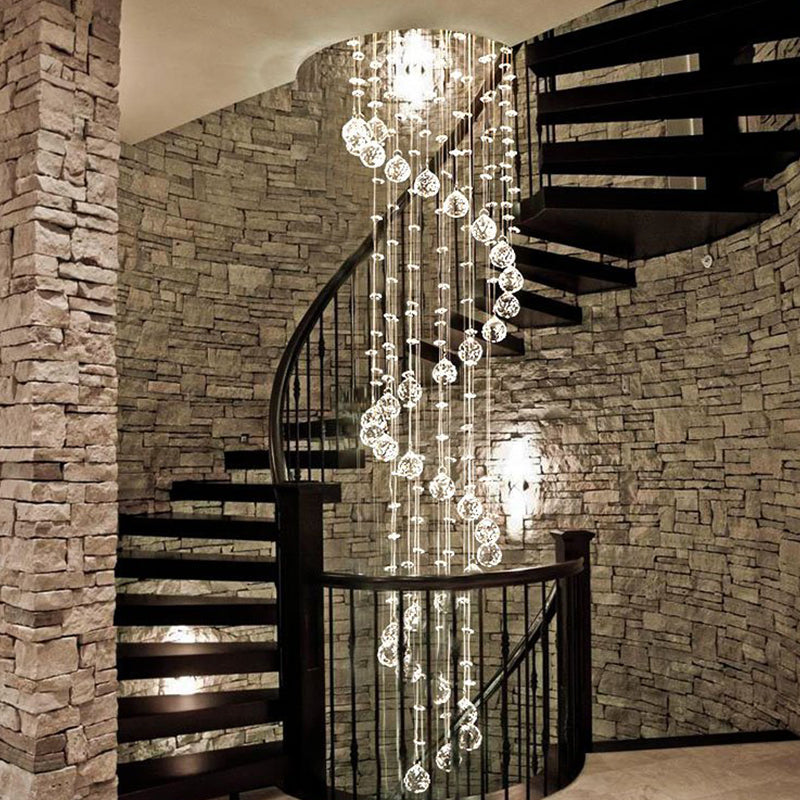
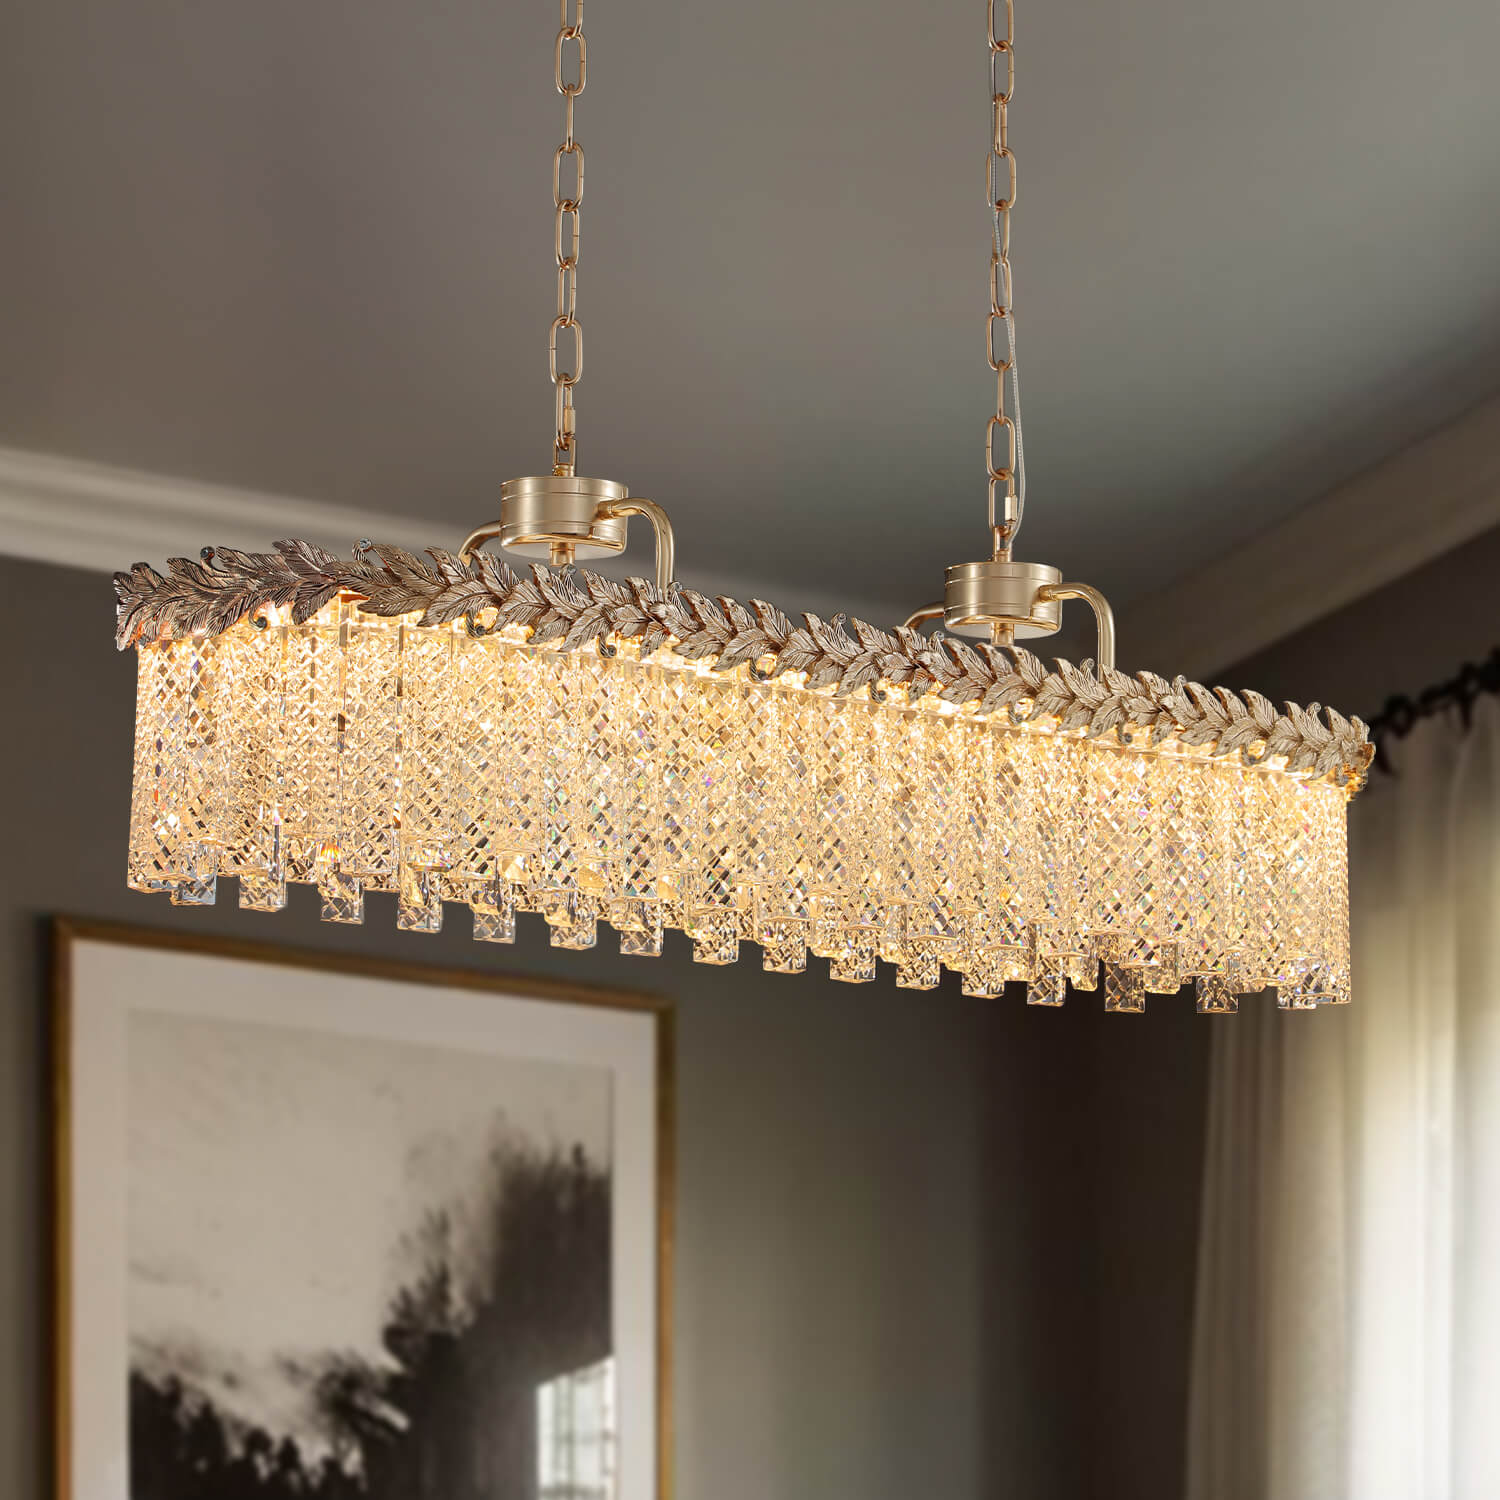
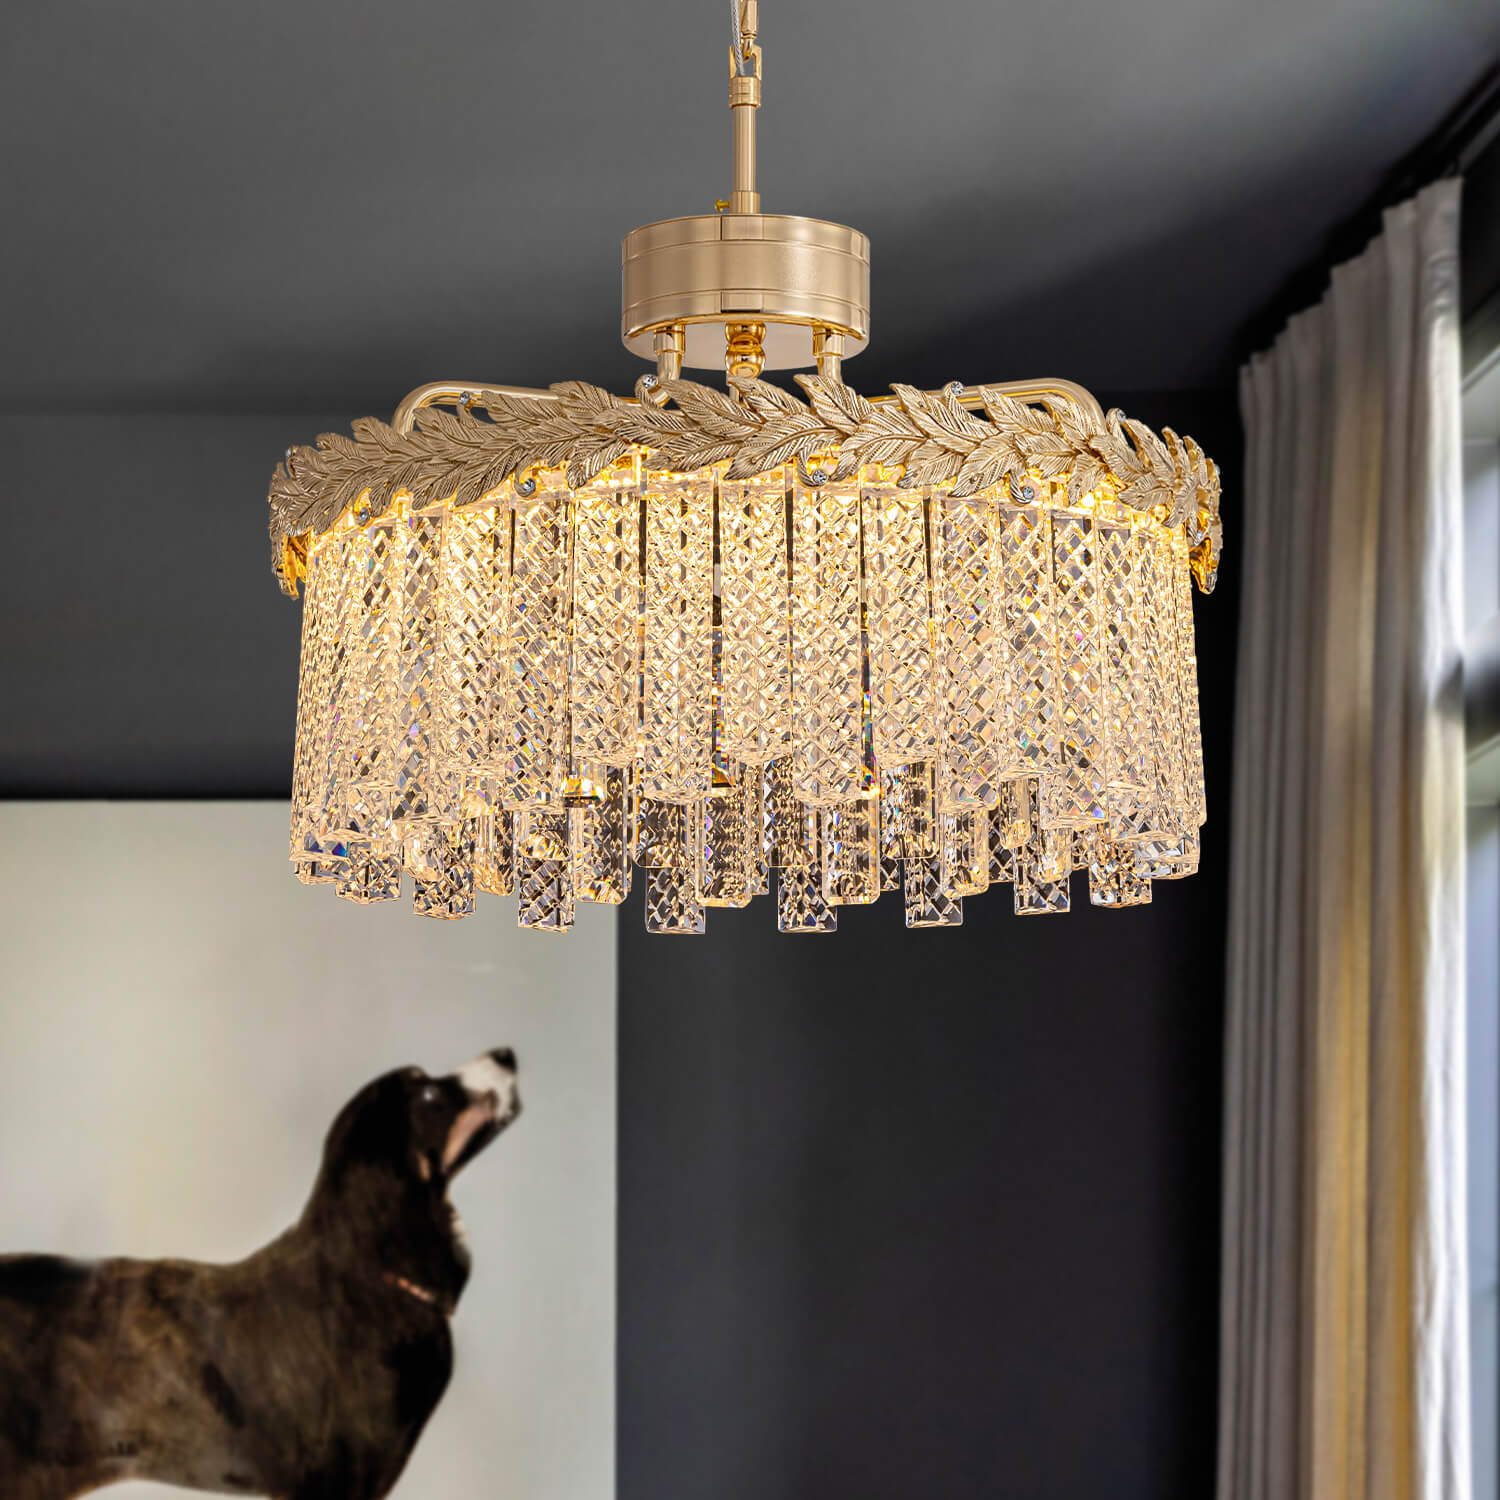
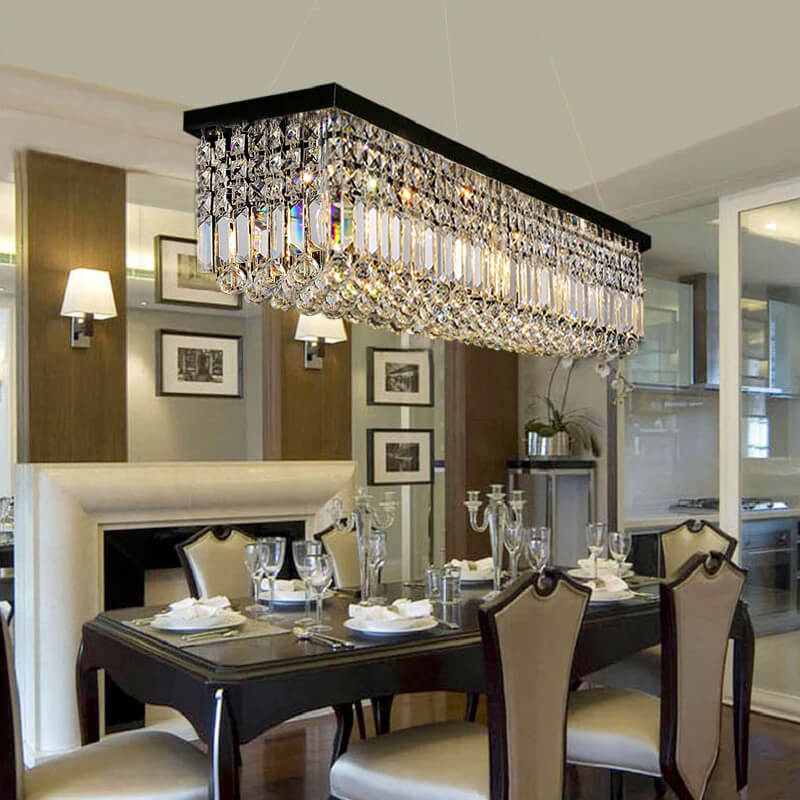
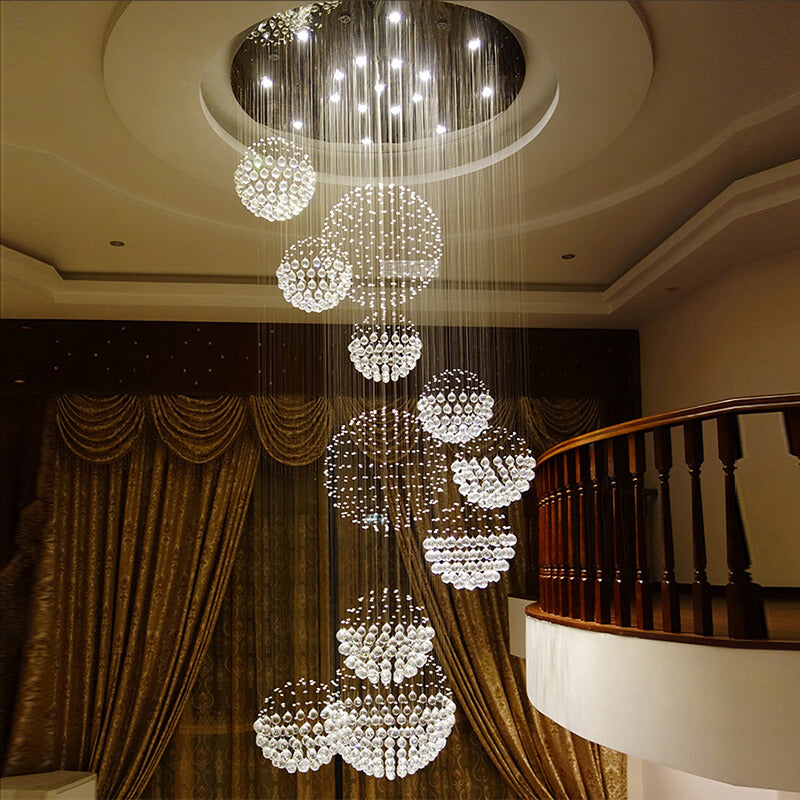
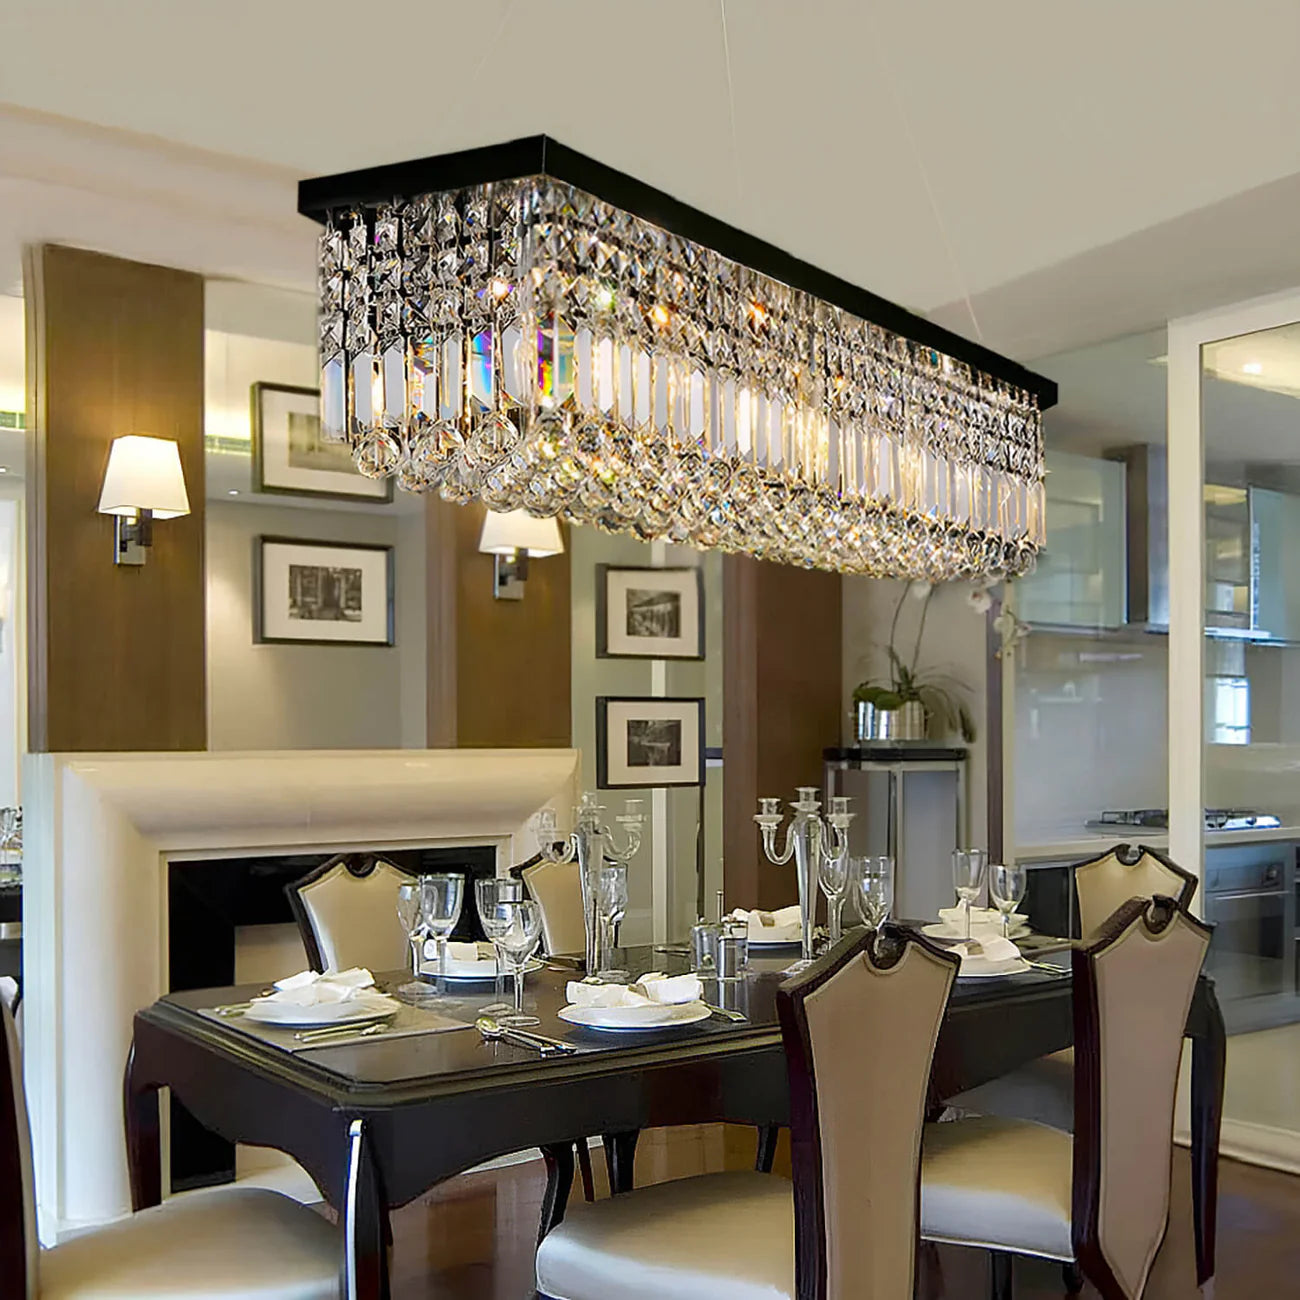
Choosing the right chandeliers will add great ambiance and style for your home. However, there are wide range of chandeliers varying in design, finish, and size, selecting the ideal fit is no easy task and a big investment of our time. Even after you find the perfect chandelier, installation will be another headache for many of us as well. To help answering our customers' questions about chandelier installation, we will take two type of chandeliers, dining room chandelier (pendant style) and foyer chandelier (ceiling style), from SOFARY as examples to explain the installation process step by step.
NOTE: Before installing, you need to check with your house builder or the installer to make sure that your ceiling can support the weight of the chandelier. If you are not a professional electrician, you need to hire a professional electrician to do the electrical part of the installation.
After the base is installed and electric wires are connected, hanging the crystal strings should be straight forward. It does take some time and patience, but it is totally doable by yourself. Or you can hire a handy man to do it for you whose hourly rate will be much lower than a professionally electrician. 😊
STEP 1: Preparation
Make sure that all the parts that you need for the product are available based on the instruction before starting the chandelier installation process. Also, we do recommend you have the electrician test the chandelier on the ground before installing it to the ceiling just to ensure that there is no damage during shipping.

1.The tools you need
Ladder, pliers, wire strippers, screwdrivers, power drill(optional), a drill bit(optional)

Tips: If mounting to a support structure, you will also need the option tools.
2.Turn off the power
Turn off power at the circuit box to avoid possible electric shock.

Tips: To ensure safety, you can test with a measuring pen, or you can turn on the light switch to make sure the power is off.
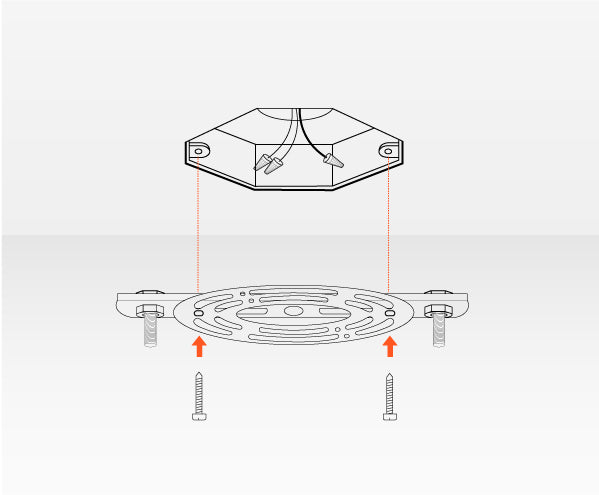
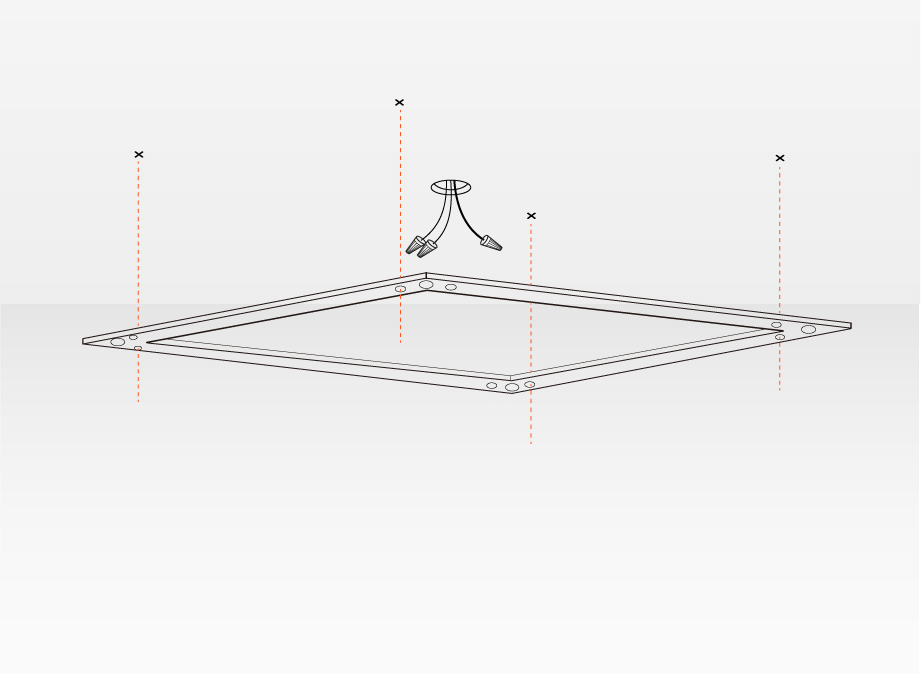
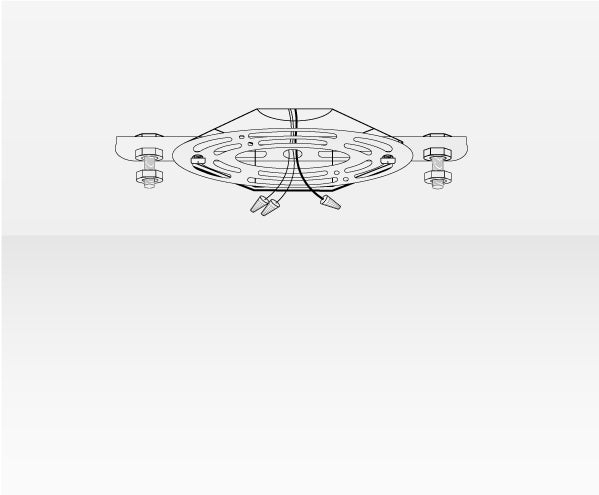
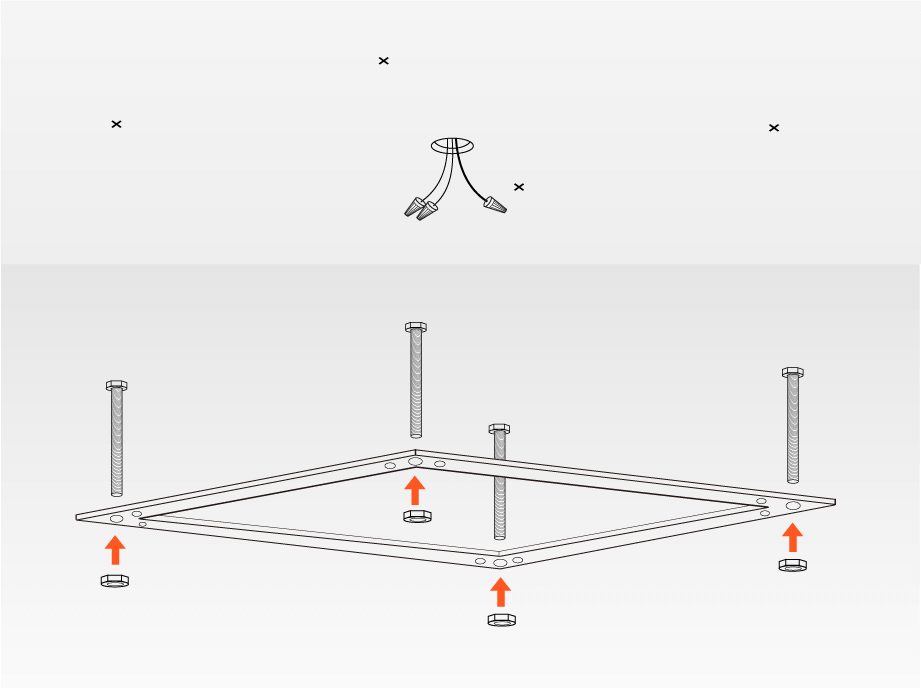
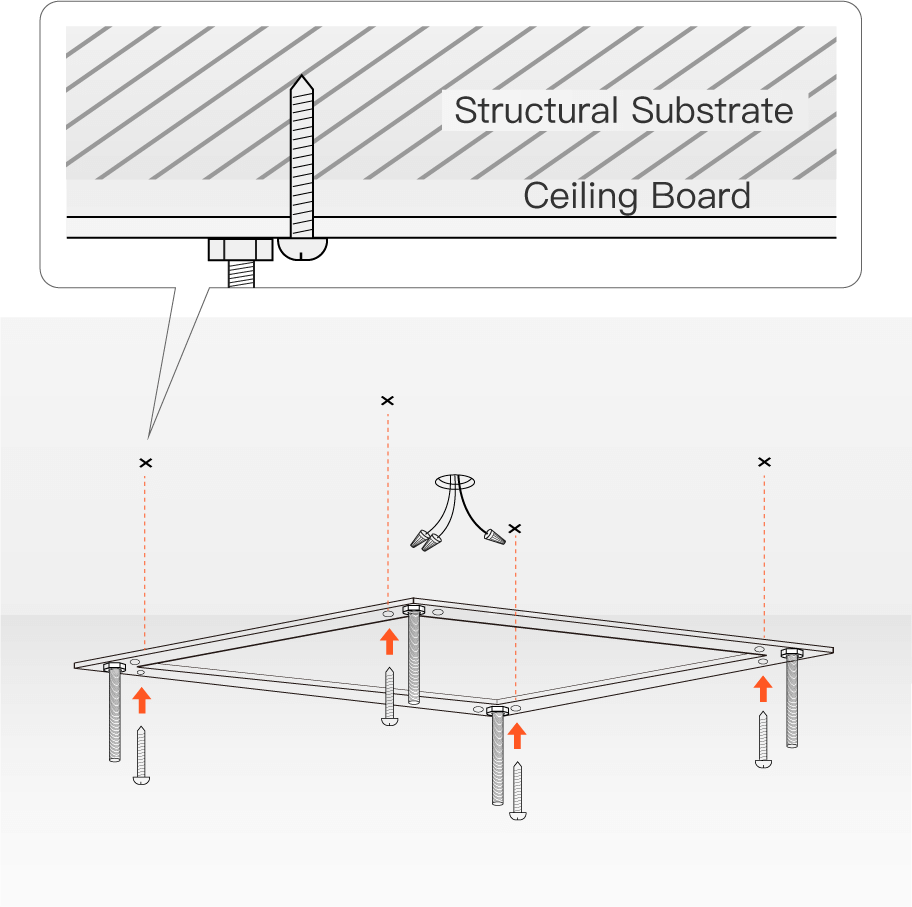
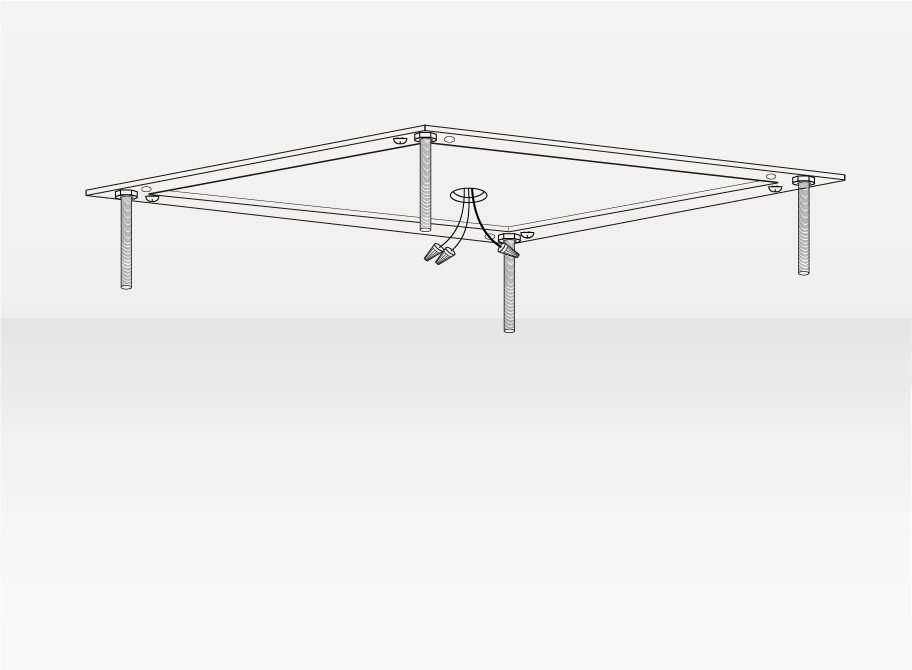
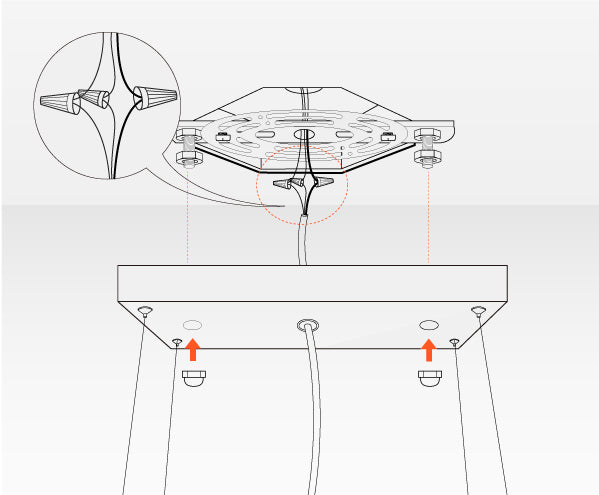
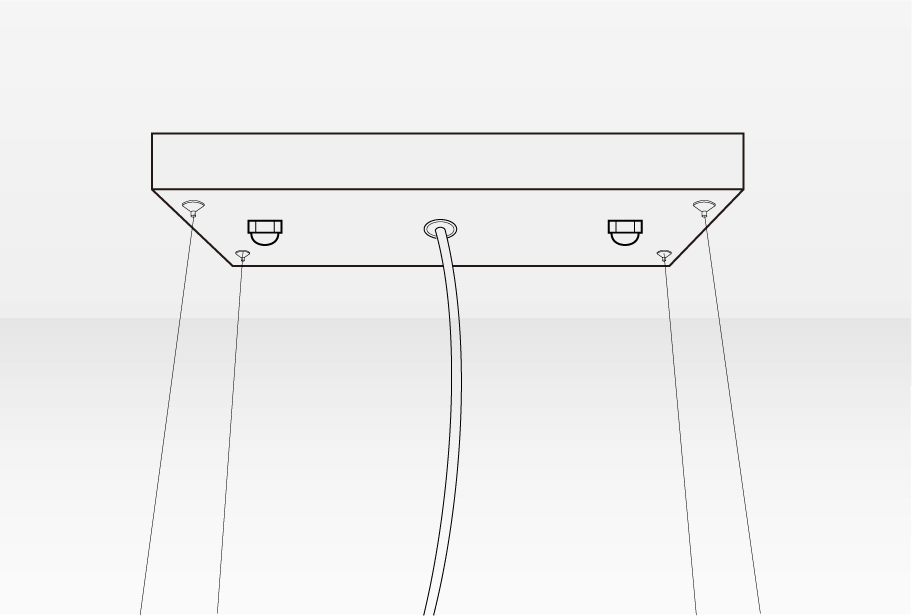
STEP 2: Install the mounting bracket
STEP 3: Determine length of the chain (N/A to ceiling chandelier)
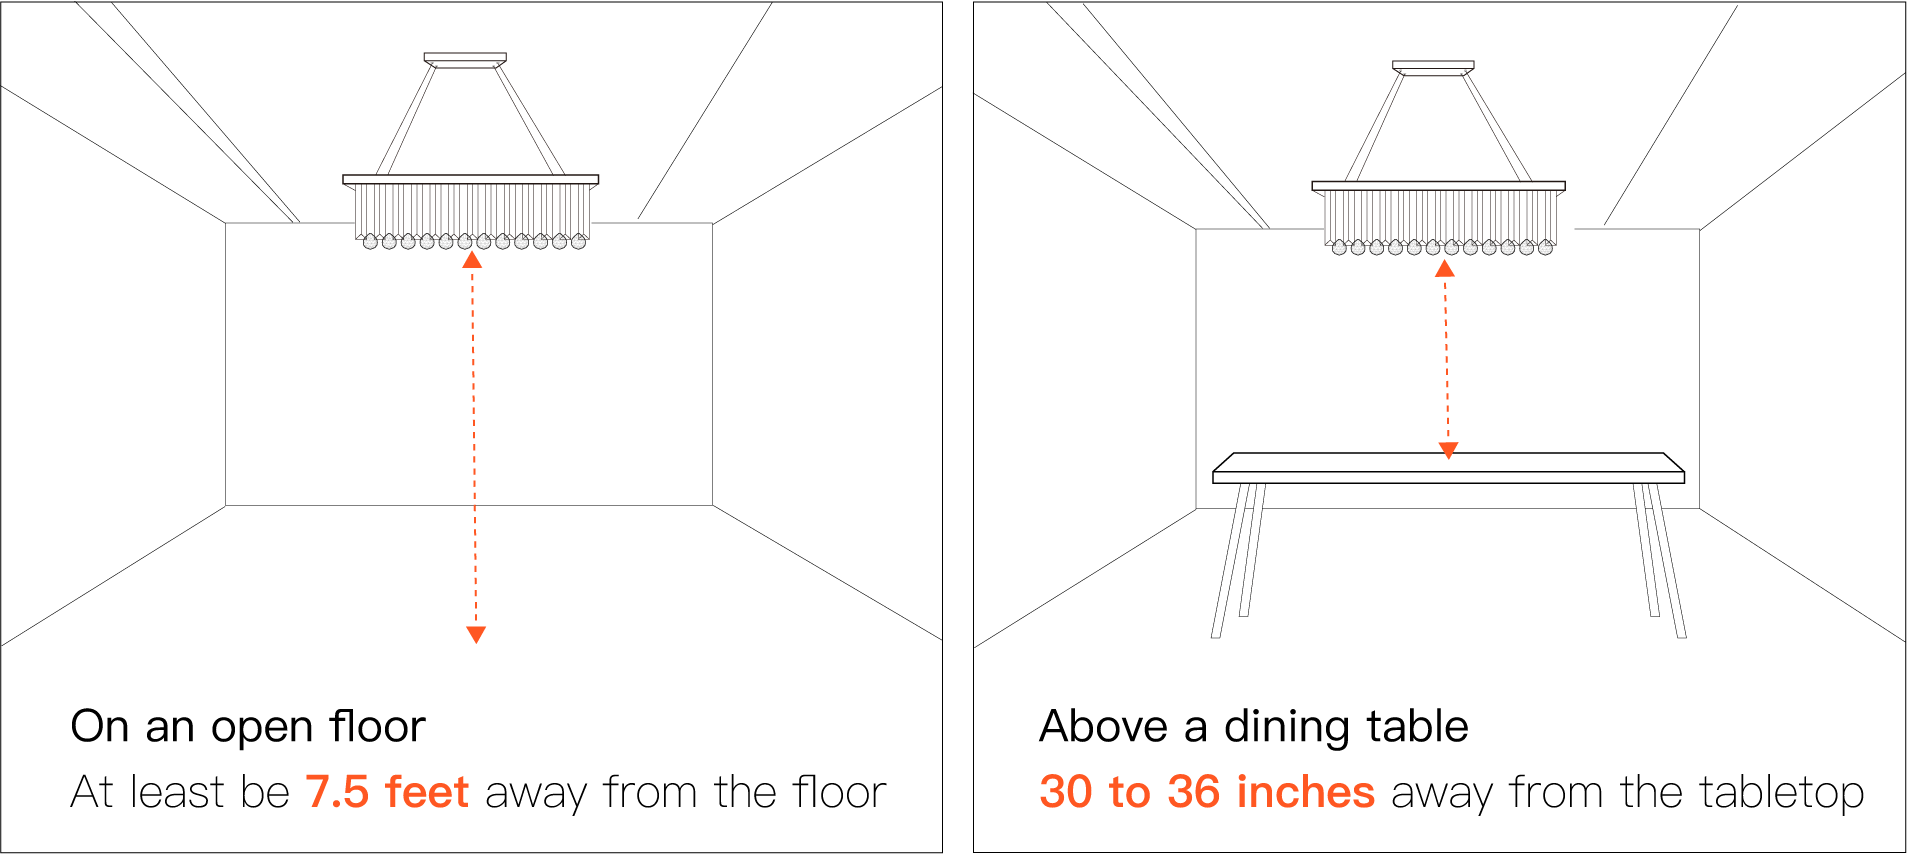
You want to determine the proper length of the wire to achieve a desired height. Two factors will determine the length of the chain: the height of the chandelier and the distance between the bottom of the chandelier and the surface below, whether it is the floor or a dining table. You can adjust the chain length accordingly based on your needs.
Tips:
1.If you are hanging the chandelier on an open floor, the chandelier’s bottom should at least be 7.5 feet away from the floor.
2.If you are hanging the chandelier above a dining table, the chandelier’s bottom should be 30 to 36 inches away from the tabletop.
3.While you are adjusting hanging cords, the suggested minimum height (from the ceiling to the top surface of the frame) should not be less than 10inch.
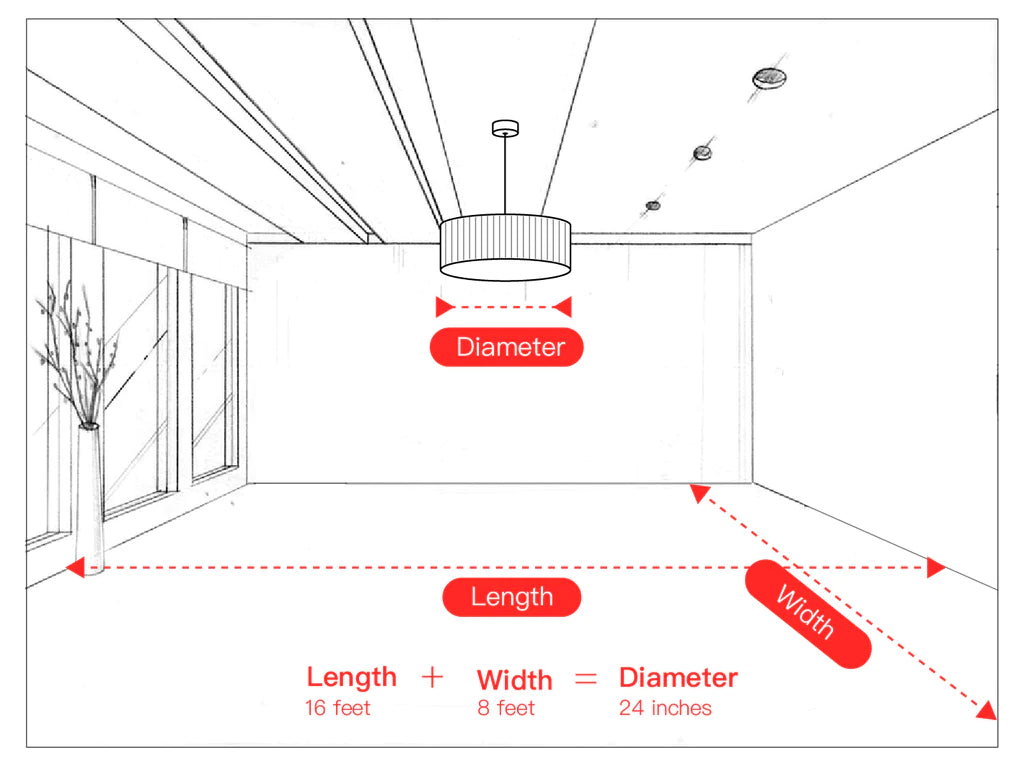
You can find more information on our chandelier size guide.
STEP 4: Adjust length of the chain (N/A to ceiling chandelier)
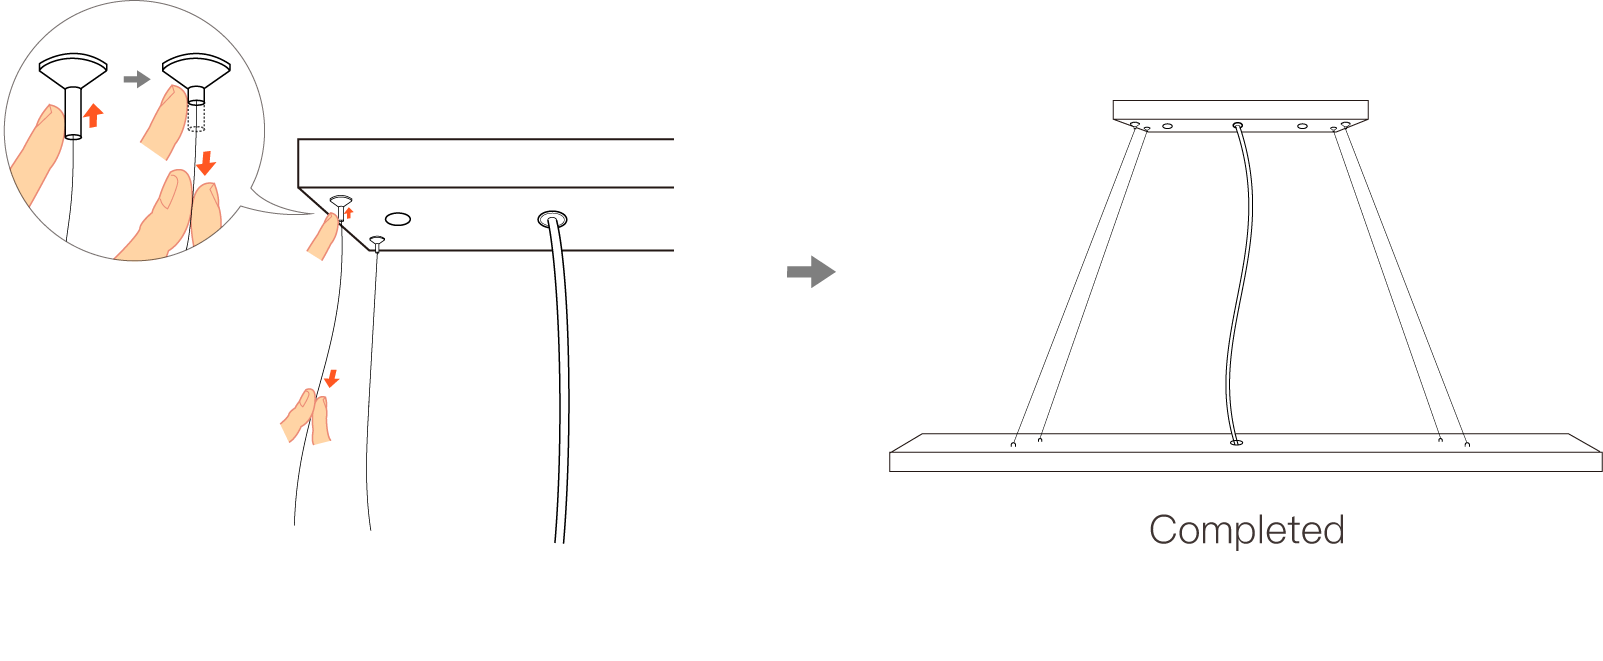
Step1: Press the pin down towards the ceiling canopy. This will release the cable locking mechanism.
Step2: While holding the pin in place, simply pull down (or push up) the cable. Repeat this for each cable to raise or lower the base of the chandelier and make sure that it is leveled horizontally.
Step3: Release the pin once you have adjusted the cable to the desired height, which will lock the cable.
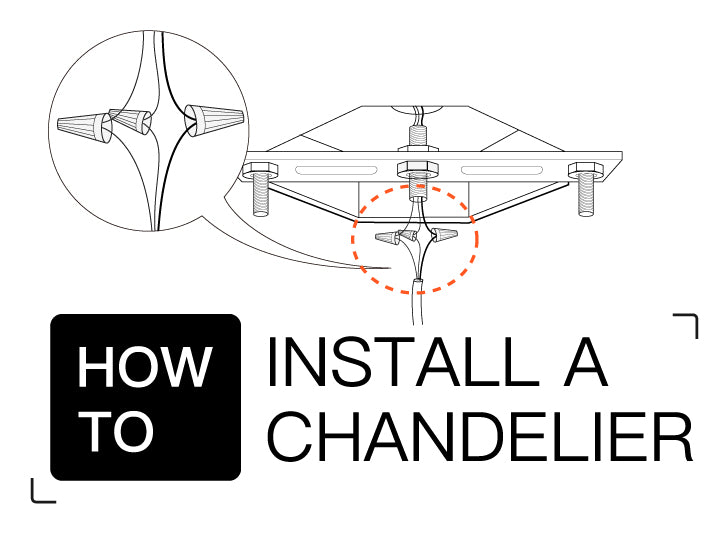
STEP 5: Connect wires and install the canopy.
Most chandeliers, especially newer ones, have black and white lines. Connect the black/brown wire to the live wire, the white/blue wire to the neutral wire, and the yellow/green wires to the ground wire (optional). Attach the stripped end of the black power cord with the stripped end of the black/brown wire of the chandelier and screw them together with a wire nut. Do the same for the white/blue wire with the white power cord.
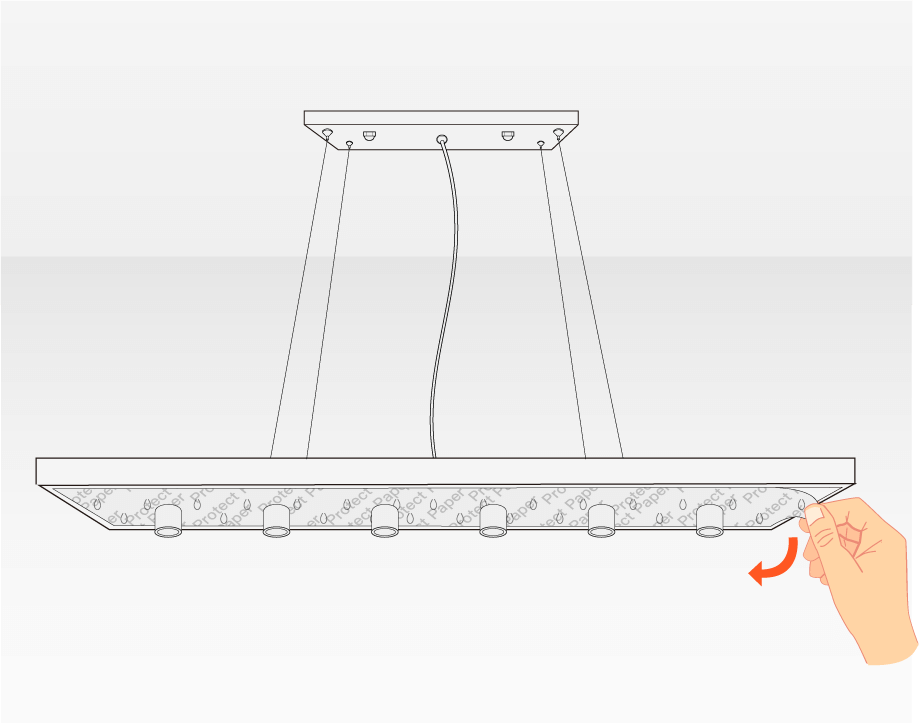
STEP 6: Remove protective film
Remove protective film on the canopy and chandelier base.
NOTE: This step must be done before installing crystal strings to the base.
| Pendant light: | Ceiling light: |
 |
 |
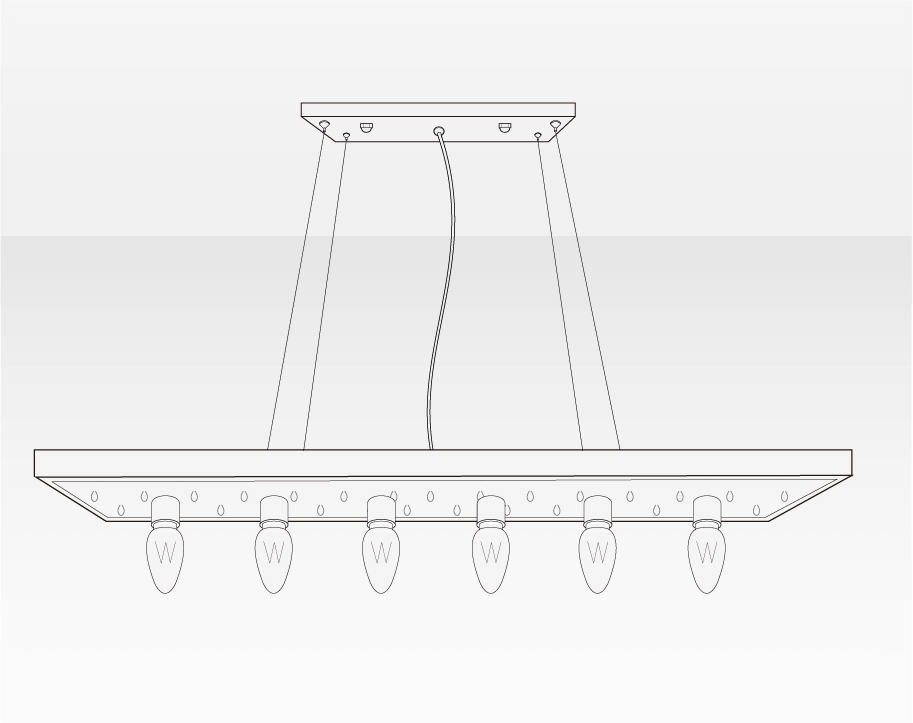
STEP 7: Install the bulb
Refer to the light bulb information provided for the product on the instruction or on our website to select the correct light bulb type. The product will require a specific type of light bulbs, like GU10. You can choose LED or halogen light bulbs based on your preference. You can also decide what kind of color temperature that you want for the light bulbs, like daylight or warm white. In addition, you can even choose different colors for the light bulbs, like blue, yellow or green. Feel free to check here for more knowledge about light and light bulbs.
| Pendant light: | Ceiling light: |
 |
 |
STEP 8: Install the crystal
Connect the crystal strings to the chandelier by matching the assigned numbers of the string to the assigned number hooks on the chandelier base, which can be found on the instruction.
NOTE: Please check the assigned number of the crystal strings before installation, hang the matching crystal string to the corresponding hooks based the assigned number, and always hang the crystal string from inside to outside to avoid tangling them together!
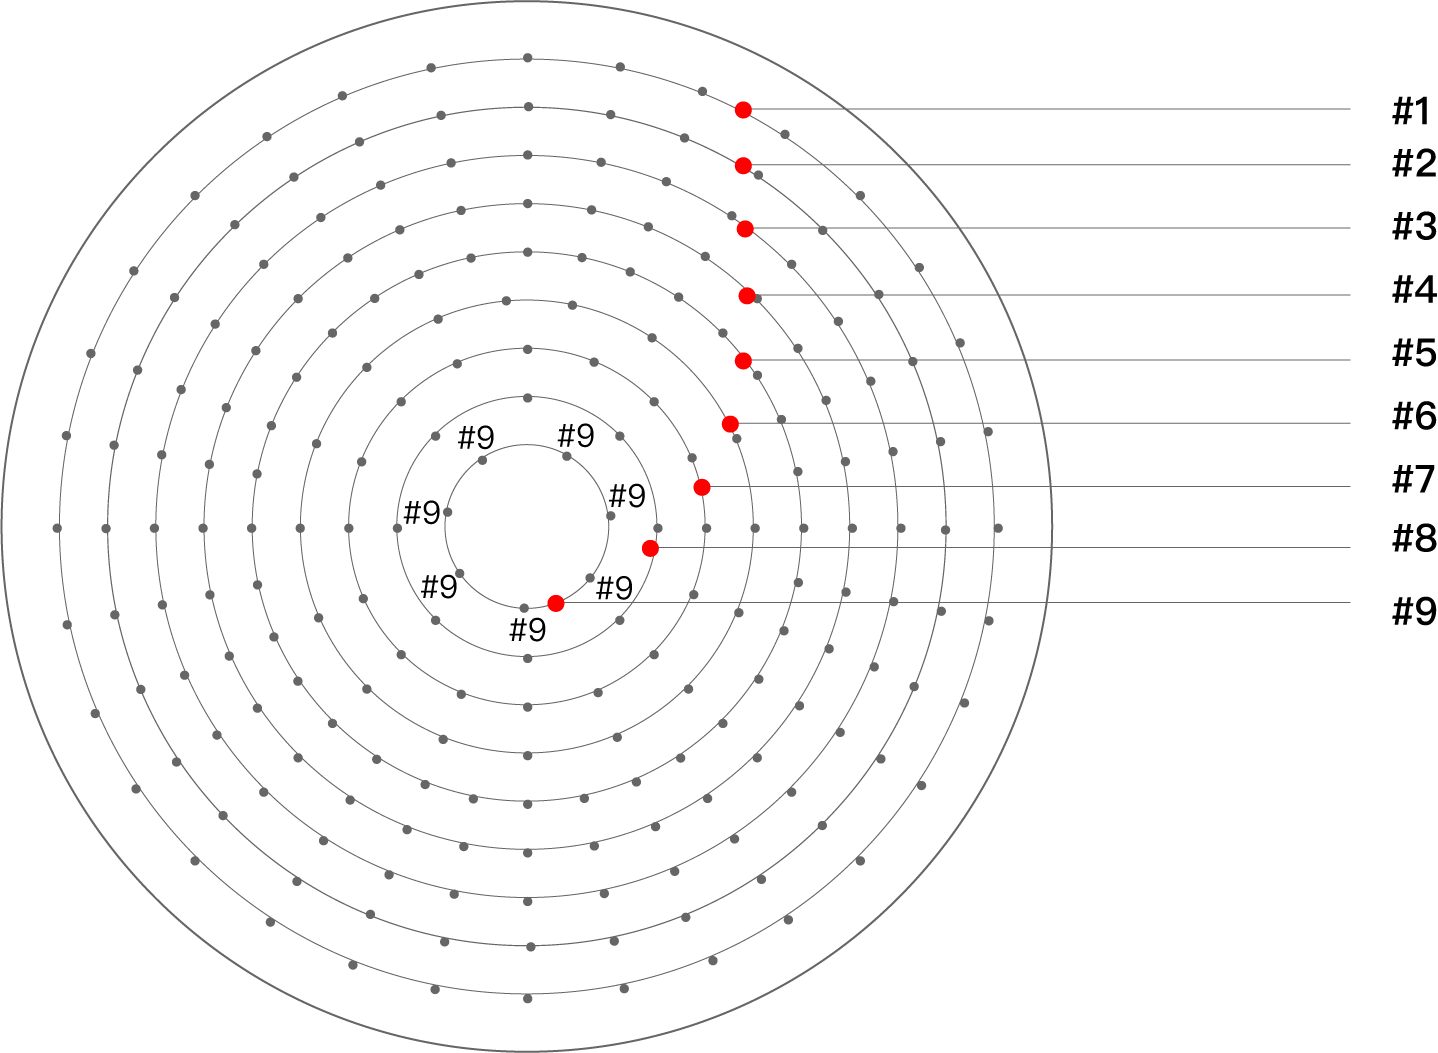
Plane Diagram
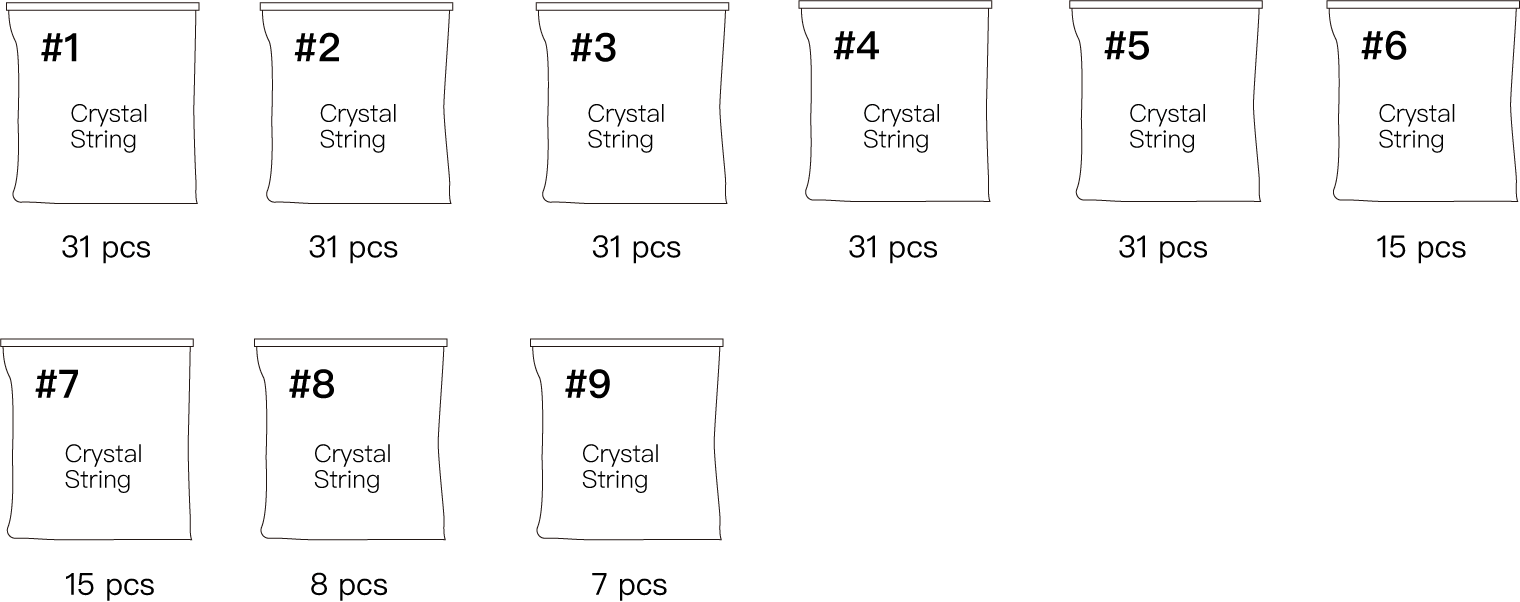
Crystal Strings Packaging Diagram
Below are installation instructions of Sofary’s pendant style crystal chandelier on how to hang the crystal strings.

An example of connecting the crystal ball to the end of crystal string

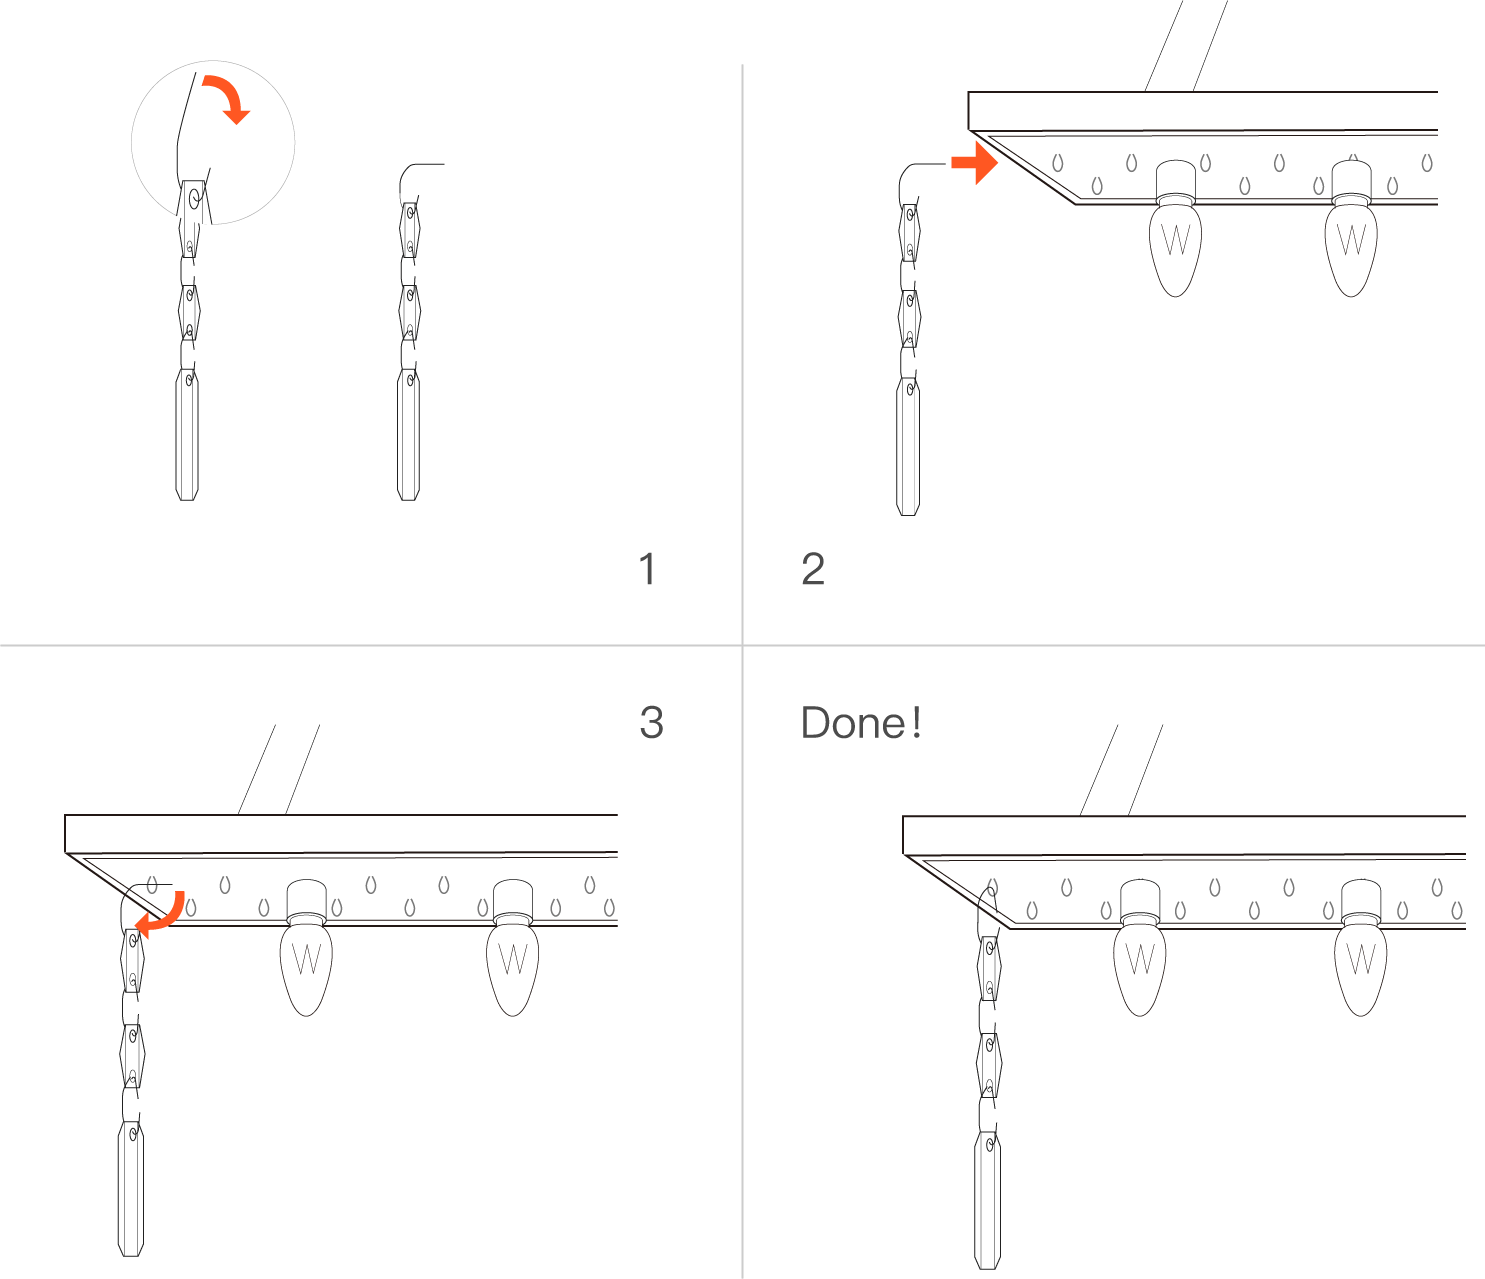
Below are installation instructions of Sofary’s ceiling style crystal chandelier on how to connect the crystal strings.

An example of hanging the crystal strings to the base of the chandelier
STEP 9: Check
Congratulation, you have completed the installation for your chandelier! One last thing to do is to check it from a distant just to make sure that the crystal chandelier is leveled and at proper height. Make additional small adjustment as needed. After ensuring safety, you can turn on your house’s power switch and the light switch for the crystal chandelier. Now you can enjoy the beautiful chandelier that you just installed for your home.
We hope this blog will be able to provide you an overall view about the chandelier’s installation process as well as step by step guidance when you are doing the installation. If you have any questions, feel free to contact us and we are always here to help!

